
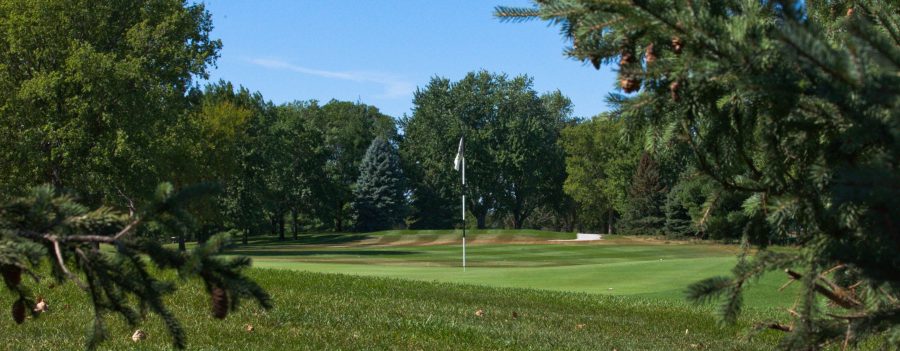
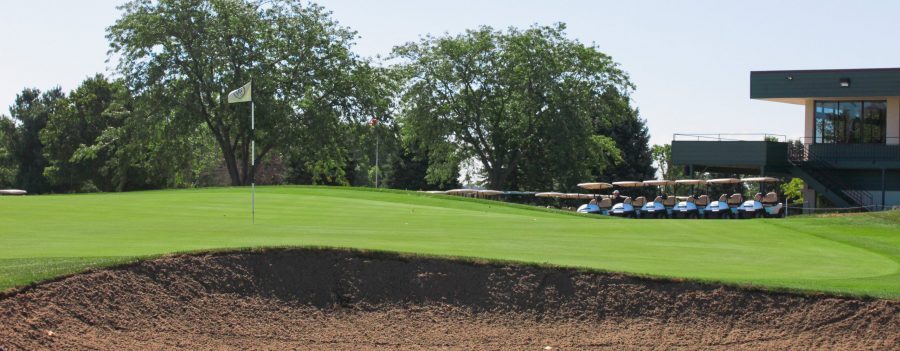
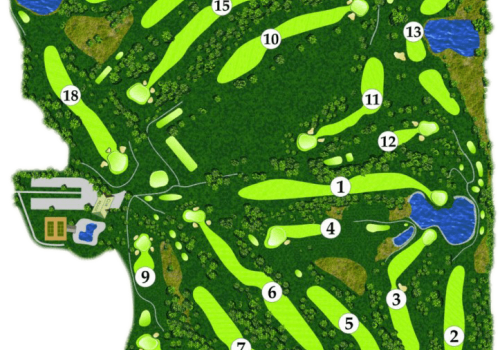
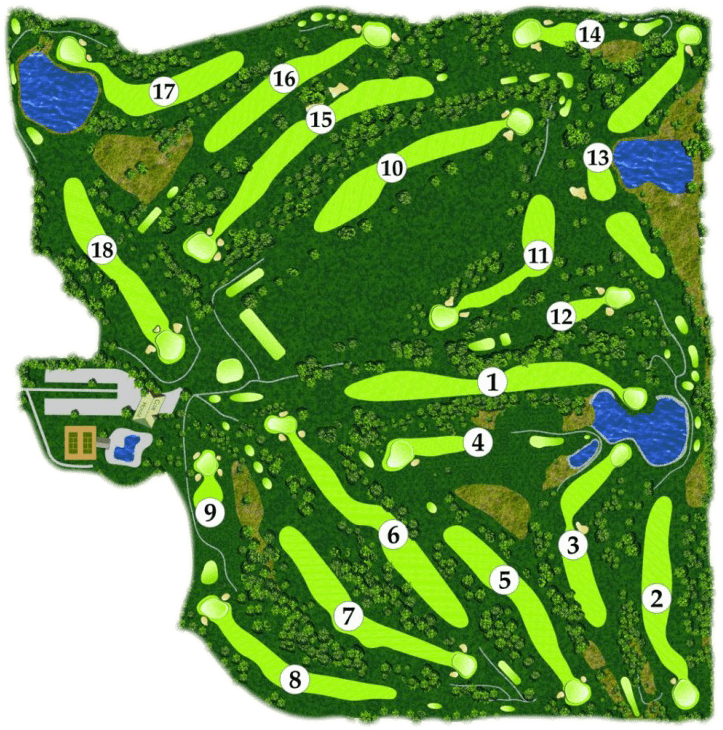
The course layout at our club is a true gem. The renowned Donald Sechrest of Tulsa, Oklahoma, designed the 18-hole, 114-acre course in 1971. Sechrest’s work incorporates lush fairways, tees and perfectly-groomed greens, which are irrigated and surrounded by a few small, strategically-positioned lakes. Play spans 6,675 yards from the longest tees for a par of 71. We have five tee lengths, making Ames the perfect round of golf for players of all skill levels.
-
Hole #1
 The best drive is in the middle of the fairway between the tree lines on each side. This sets up an important second shot down the fairway that is best positioned left of center to avoid the water hazard on your right. The shot into the green can be tricky as this green has significant slopes left to right and on the front and rear edges. A shot to the center of the green takes the water surrounding the green on three sides out of play and sets up the best chance for par or better.
 -
Hole #2
 Second shot to a small green plays best from left side of fairway. Favor left side of green to avoid right trap.
 -
Hole #3
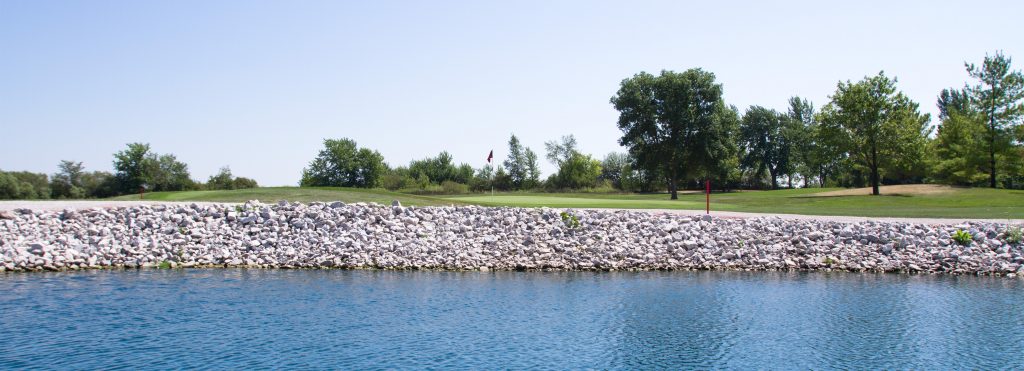 Longer hitters can challenge the dogleg from the tee, but the safe play is to position your ball in the fairway just short of the bunker that guards the right side. Be careful with club selection on your approach shot as long or left of the green is surrounded by water.
 -
Hole #4
 The first par three is one of the more challenging holes on the course. The large, undulated green is guarded by a bunker on the front left side. Positioning your tee shot in the front center is ideal.
 -
Hole #5
 Focus on the left side. The hole plays easier from left side of the fairway and all putts are easier from left of the hole.
 -
Hole #6
 From the tee, try and position your ball on the right side of the fairway as the rough comes in considerably on the left side. Two traps on the front left and front right guard the green. The best “miss ? on the approach is short or right, as there is trouble long and left.
 -
Hole #7
 The ideal tee shot is straight out at the 150-yard pole in the middle of the fairway. For your approach shot, you are looking at a green is that surrounded by two bunkers and a large mound in front of the green. Once you have mastered getting on the green, take your two putt par and move on to hole eight.
 -
Hole #8
 A tee shot down the left side of the fairway will give you a clear view to the green. Make sure you stay short of the hole on your approach shot.
 -
Hole #9
 The shortest par three on the course gives you the opportunity to be aggressive and finish the nice with a birdie. With the green, sloping from back to front, be sure to leave yourself below the hole to have an easy uphill putt.
 -
Hole #10
 Make sure your tee shot favors the left side of the fairway for out of bounds is to the right. If you can avoid the two greenside bunkers that guard the front of this green, a birdie is a real possibility.
 -
Hole #11
 This short 90-degree dogleg presents plenty of challenges. Your tee shot could end up in the penalizing native grass that sits on the corner and through the fairway. There are two bunkers on the front of the large green, but with plenty of room on the putting surface, a two-putt par is always a good score on this hole.
 -
Hole #12
 Be sure you have the correct club on this hole, as hitting long or right of the green will greatly penalize your next shot. The large green funnels to the middle with a bunker protecting the front right and left corners. This straightaway par three can be an easy one as long as you find the green off your tee shot.
 -
Hole #13
 With a smart tee shot on this par five, birdie is a definite possibility. Once you avoid the water on the right, you are in great position to attack the green in two. A bunker on the front right guards the small green that slopes from back to front. There is not a lot of room to miss behind the right of the green, so be sure to have dialed in the correct club. Once you are on the green in regulation, give yourself a good putt at birdie or walk away with a two-putt par.
 -
Hole #14
 It is important to try to determine the wind direction, as the tee box is pretty sheltered. With the green slightly uphill, be sure to take enough club.
 -
Hole #15
 Positioning yourself in the fairway short of the bunkers off of your tee shot is key for this hole. You need to avoid the greenside bunkers that surround the green on your approach shot. Make sure you are putting from below the hole, as the green on 15 is one of the most difficult on the course.
 -
Hole #16
 If you draw ball, watch out for the trees on the right immediately off the tee box. A slight fade down the left side of the fairway is the preferred shot with the driver. Once the ball is positioned properly in the center of the fairway, the approach shot with a short iron is routine. The conservative approach is to the the ball to the center of the green, regardless of pin position. Once on the green, pay attention to slope and focus on distance control.
 -
Hole #17
 A smart tee shot is important on the short dogleg right. Make sure you place yourself on the left side of the large fairway so the trees on the right do not interfere with your approach shot. A short iron or wedge shot to the large green surrounded by water and bunkers will allow you the opportunity to attack the hole and possibly make birdie.
 -
Hole #18
 The "Home Hole" is one of the longer par fours on the course that consistently plays into the prevailing wind. Positioning your tee shot down the left side of the fairway is ideal. Your second shot will play uphill to a large green with three bunkers the guard the front, left and right portions of the green. Par is always a good score on this hole.